User Guide
iFixMate Products
 About
About
 Privacy Policy
 Refund Policy
How to repair corrupted or damaged video files?
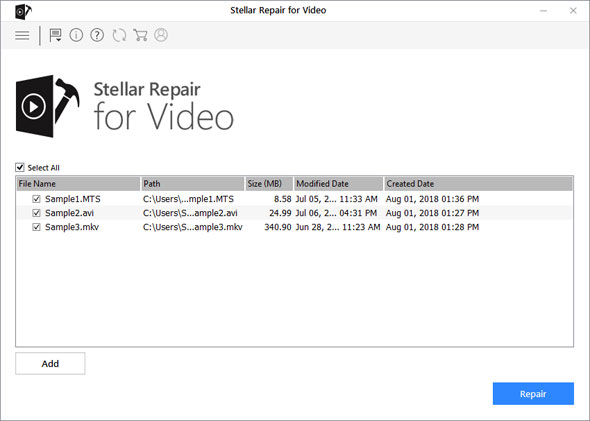
Step 1 Add Videos for Repairing
From the main screen, click ‘Add File’ button to add the files for repairing.
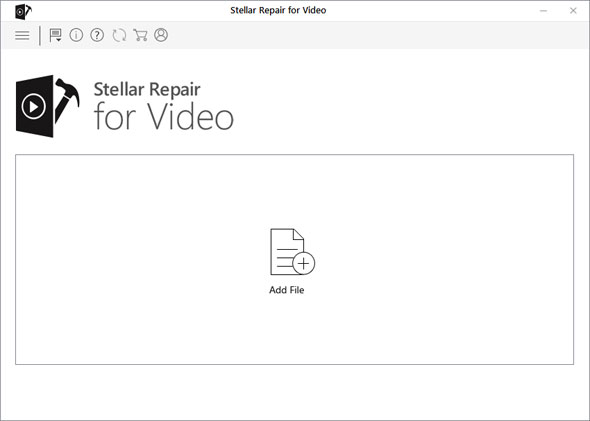
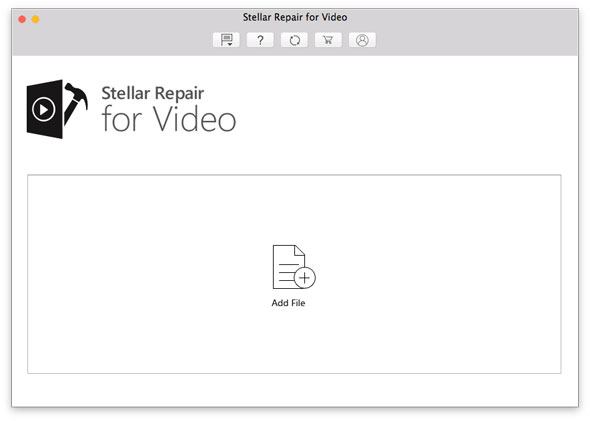
Browse to add required videos to the list. You can add multiple files for repairing.
Step 2 Repair and Preview Video Files
To repair the chosen files, click Repair button. Repairing of the selected files is performed by the tool.
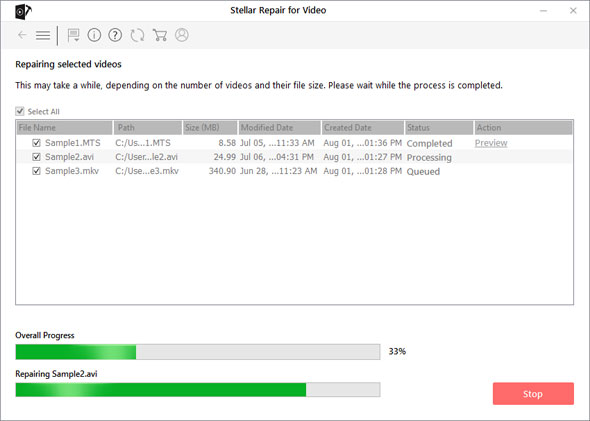

A progress bar indicates the repairing progress of the file. In case you want to stop the ongoing process, click Stop button.
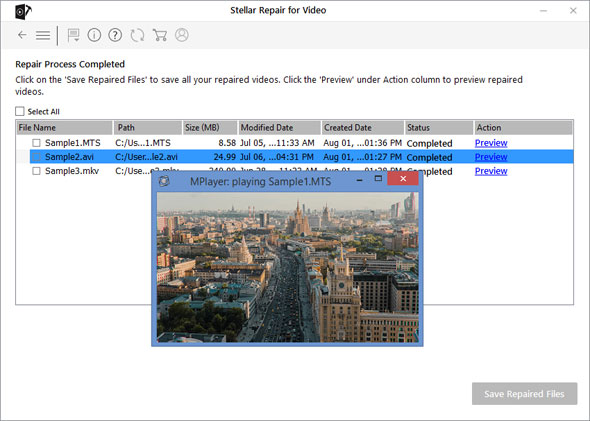
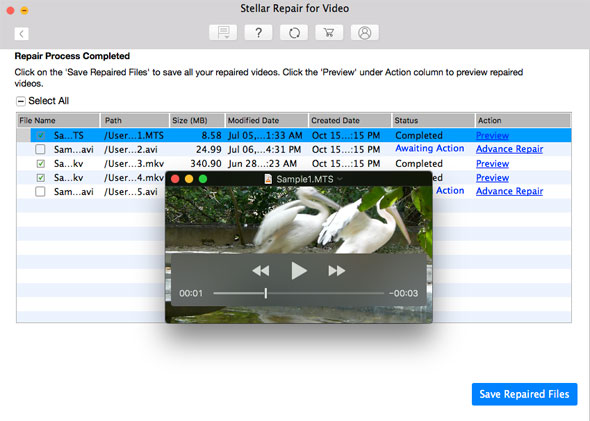
To preview the video file, click the Preview button under the Action attribute.
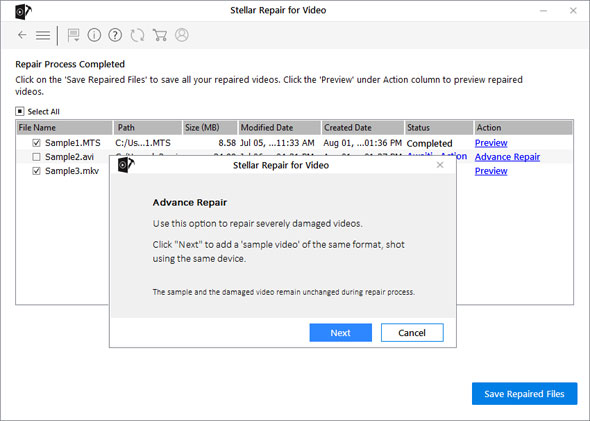
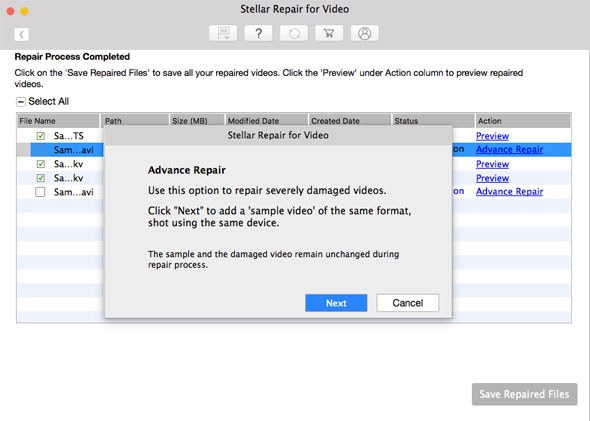
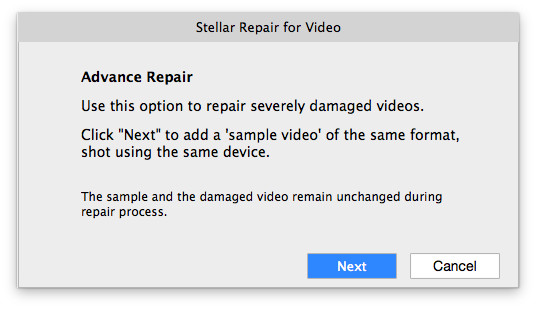
Step 3 Advance Video Repair
In case your video file is severely corrupted, the application allows you to repair it by adding a Sample File to it. The Advance Repair feature is available only for the files with the ‘Awaiting Action‘ status.
A Sample File is a working file created from the same device and of the same format as of the corrupted file. However, it can be of any size. Stellar Phoenix Video Repair uses the information from the working sample file and repairs the corrupted file. It also repairs the videos whose data headers are corrupt.
To add a sample file, from the list of video files, click Advance Repair link under the Action attribute.
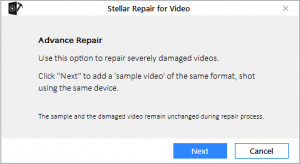
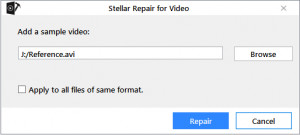
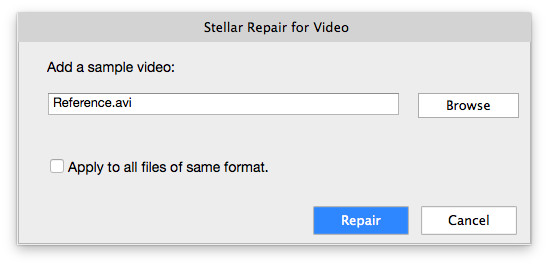
A dialog box appears. Click Next. Click Browse and select the required Sample file from the location. Select the option ‘Apply to all files of same format‘ to use the selected sample file for repairing all the corrupted video files in the list.
Step 4 Save Repaired Video Files
From the list of repaired files screen, select the desired files to save by clicking on their respective checkbox. Click Save Repaired Files button.
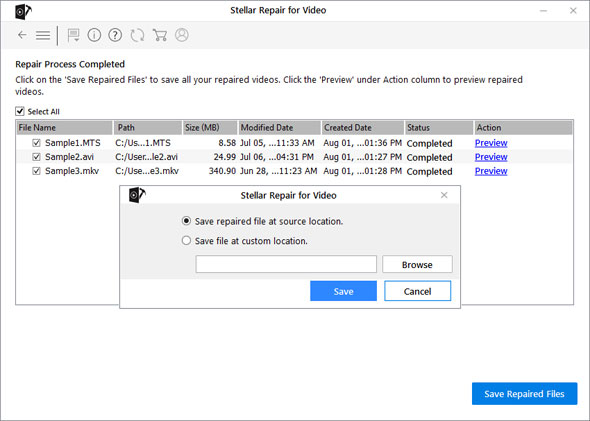
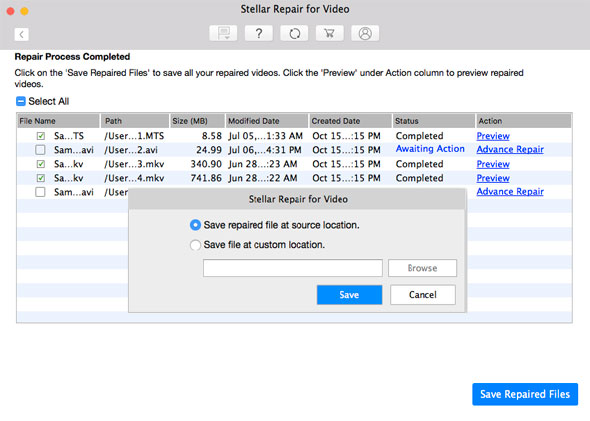
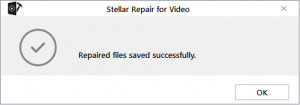
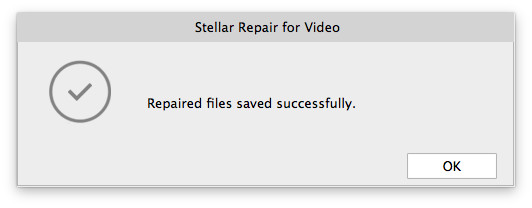
A ‘Repaired files saved successfully‘ message appears. Click OK to close the message box.